Small Backyard Chicken Run
Highlighted under: Comfort Food Corner
I’ve always dreamt of having fresh eggs right from my backyard. Crafting a small chicken run is one of the most rewarding projects I’ve tackled, blending functionality with a touch of whimsy. It’s a simple yet fulfilling way to provide a safe haven for my feathered friends. With some creativity and basic tools, I've transformed a corner of my yard into a cozy space where my chickens can thrive. Each time I see them scratching around, I know the effort was worth it!
Building a small backyard chicken run was an adventure filled with trial and error. I started by researching the best materials to use, aiming for durability without breaking the bank. I found that using galvanized wire and reclaimed wood not only kept costs down but also created a rustic look. The moment I finished it, I felt a great sense of accomplishment and couldn't wait to let the chickens explore their new home.
One aspect I particularly enjoyed was designing the run to fit seamlessly into my backyard. By incorporating some natural foliage, I was able to create a space where the chickens feel secure and comfortable. This way, they have room to roam without feeling exposed, which keeps them calm and happy!
Why You Will Love This Chicken Run
- Provides a secure and spacious environment for your chickens
- Enhances your backyard while ensuring easy access
- Encourages fresh eggs right at your doorstep
Selecting the Right Location
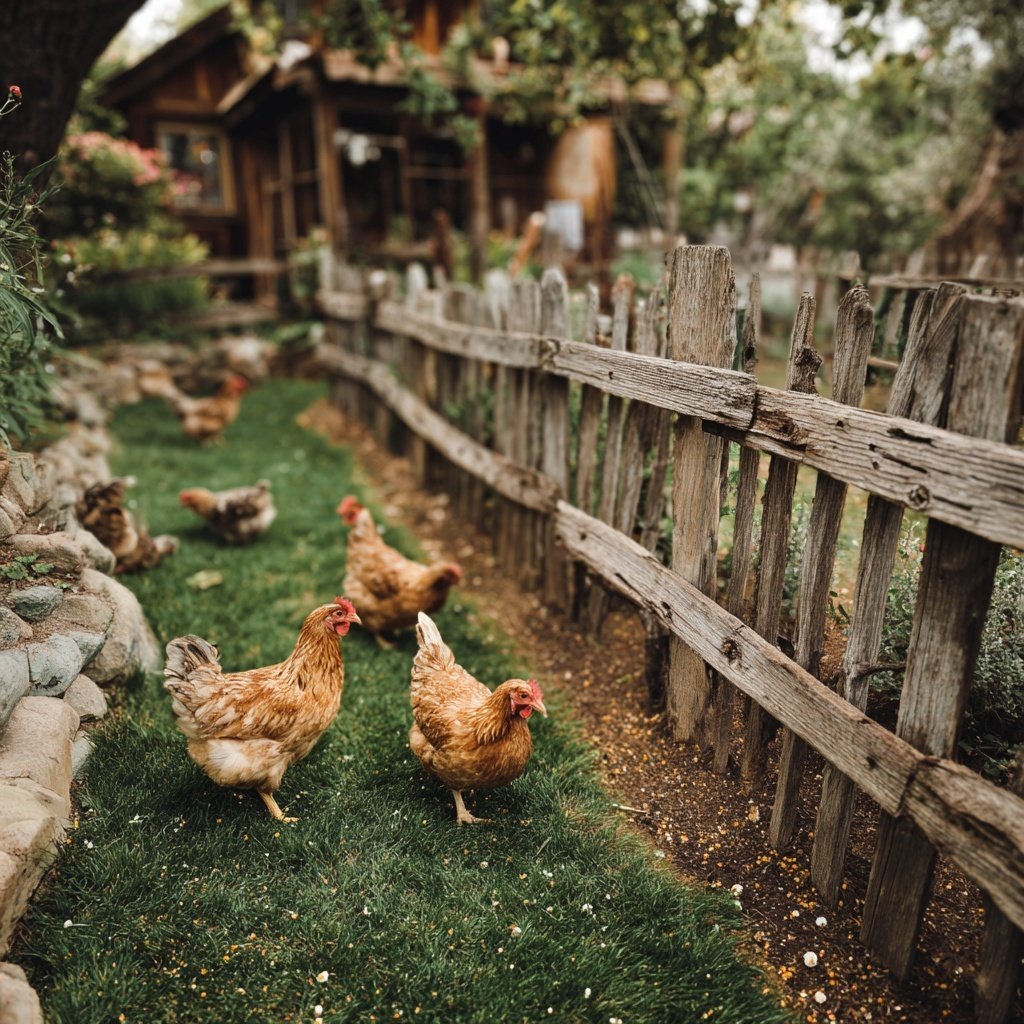
Choosing the right location for your chicken run is crucial. Aim for a spot that not only offers enough space for the structure but also provides good drainage to prevent puddling. My chickens love having some shade during the hot summer months, so consider positioning the run near trees or other structures that can offer relief from direct sunlight.
Observe your yard throughout the day. The ideal location should be sunny in the morning to encourage the chickens to start their day and have shade in the afternoon to keep them cool. Keep distance from other animals or potentially hazardous areas to ensure their safety.
Understanding the Structure
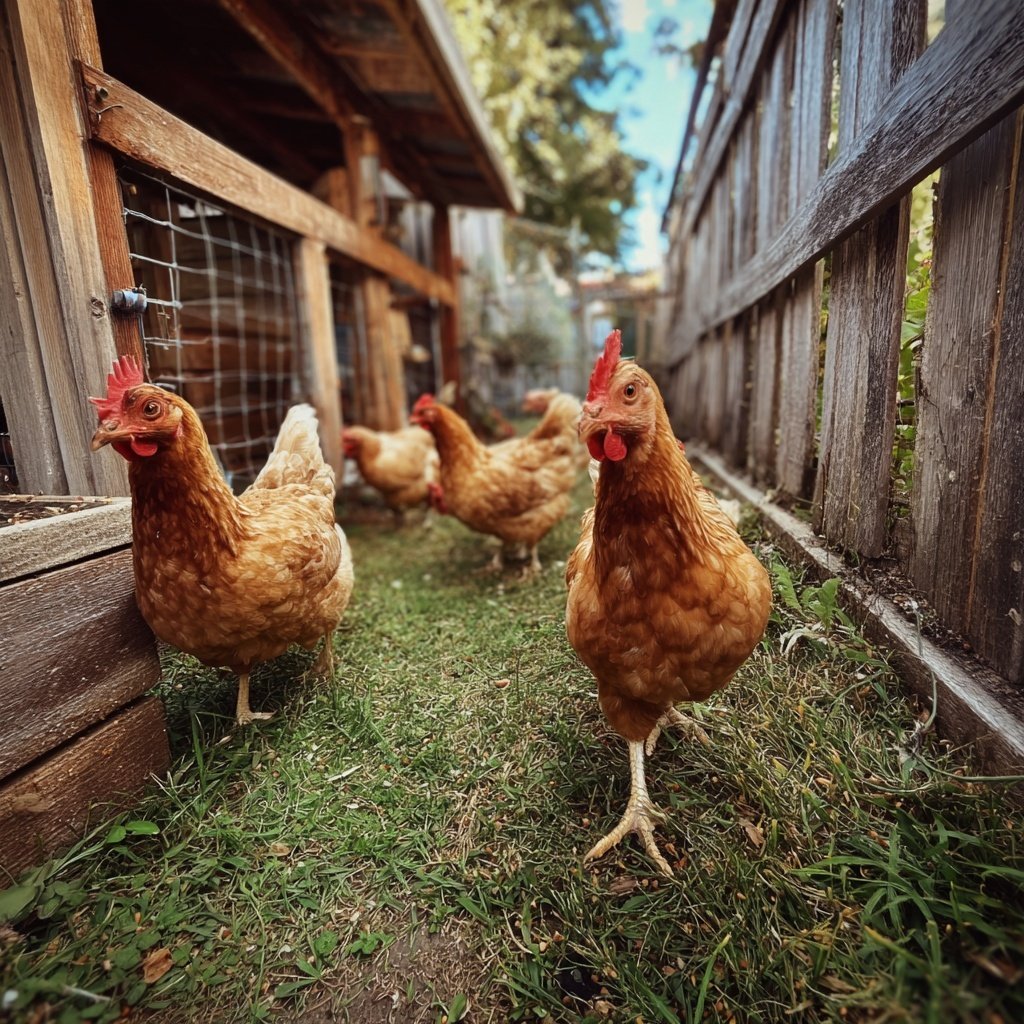
The choice of materials is vital for the durability and safety of your chicken run. I opted for pressure-treated lumber for the frame because it withstands the elements well. When constructing the frame, ensure that it is square by measuring diagonally between corners; any discrepancies can lead to issues when attaching the wire mesh.
Using galvanized wire mesh is essential to protect your chickens from predators while allowing for ventilation. Make sure to bury the bottom of the mesh into the ground if possible to prevent digging animals. Additionally, consider reinforcing the corners and joints with extra screws for added stability, which can help prevent the structure from shifting over time.
Maintenance and Upkeep
After building your chicken run, regular maintenance is key to a healthy environment for your hens. Check the wire mesh periodically for any tears or weak spots, especially after storms or strong winds. Replace any damaged sections promptly to keep your flock safe.
Don't forget about the flooring! Adding a layer of gravel helps with drainage and control of odors. I found that clearing out old bedding regularly and replacing it with fresh straw or wood shavings keeps the run clean and pleasant for my chickens. This small effort not only improves the hens' living space but also enhances egg quality.
Ingredients
Materials Needed:
Materials
- 4x4 pressure-treated lumber
- 2x4 lumber for framing
- Galvanized wire mesh
- Wood screws
- Hinges and latches
- Roofing material
- Paint or wood sealant
- Gravel for drainage
Instructions
Instructions:
Plan Your Space
Start by selecting an ideal location in your backyard for the chicken run. Ensure it has good drainage and some shade. Measure the area to determine the dimensions of your run.
Build the Frame
Using the 4x4 lumber, create the corners and vertical supports of the frame. Connect these with 2x4s to form the base and top, ensuring stability.
Attach the Wire Mesh
Wrap the galvanized wire mesh around the frame, securing it tightly. This will protect your chickens from predators while allowing ventilation.
Add a Roof
Install a roof using your chosen material. A slanted roof will allow rainwater to run off and prevent pooling.
Finishing Touches
Add a door with hinges for easy access. Finally, paint or seal the wood to protect it from the elements.
Pro Tips
- Ensure the run has a proper drainage system to avoid stagnant water. Regularly check the integrity of the wire and structure to keep your chickens safe.
Safety Measures
When planning your chicken run, take safety measures seriously to protect your birds from potential threats. Consider building a top for the run, especially in areas with aerial predators. A simple structure with additional mesh can provide peace of mind while still allowing natural light to filter in.
Additionally, regularly inspect the entire structure for any weak points. Hardware cloth, a stronger mesh than the typical wire, can be used in vulnerable areas. This reduces the risk of raccoons or other animals making their way into your run, ensuring your chickens remain safe.
Feeding and Watering Setup
To keep your chickens healthy, plan a feeding and watering system that suits their needs. Use hanging feeders to prevent waste and keep the feed clean from debris. I found that it’s handy to elevate the feeders a little to avoid attracting unwanted pests, while still making it accessible for the chickens.
Provide a fresh water source daily, ensuring it's not too deep for young chickens. You might consider a self-filling water trough for convenience. During colder months, check for ice build-up and use a water heater if necessary to keep the water flowing.
Design Variations
Feel free to personalize your chicken run to fit your garden aesthetic! Adding a decorative roof or using vibrant colors for the paint can blend the run beautifully into your backyard landscape. Vertical planters or hanging decorations can also provide entertainment for your chickens, adding to their wellbeing.
If you want to make the area more functional, include a dust bath area filled with sand or diatomaceous earth. This not only provides a natural way for chickens to keep their feathers clean but also adds another engaging space for them to explore.
Questions About Recipes
→ How much space do chickens need?
Each chicken requires about 10 square feet of run space for comfortable living.
→ What is the best material for a chicken run?
Galvanized wire mesh is ideal for keeping predators out while allowing your chickens to see outside.
→ Can I move the chicken run once it's built?
If built with wheels or on a movable base, yes! Otherwise, it's best to leave it in one place.
→ How often should I clean the chicken run?
Regular cleaning is essential. Aim for at least once a week, removing droppings and old bedding.
Small Backyard Chicken Run
Created by: Isla Turner
Recipe Type: Comfort Food Corner
Skill Level: Beginner
Final Quantity: 4 chickens
What You'll Need
Materials
- 4x4 pressure-treated lumber
- 2x4 lumber for framing
- Galvanized wire mesh
- Wood screws
- Hinges and latches
- Roofing material
- Paint or wood sealant
- Gravel for drainage
How-To Steps
Start by selecting an ideal location in your backyard for the chicken run. Ensure it has good drainage and some shade. Measure the area to determine the dimensions of your run.
Using the 4x4 lumber, create the corners and vertical supports of the frame. Connect these with 2x4s to form the base and top, ensuring stability.
Wrap the galvanized wire mesh around the frame, securing it tightly. This will protect your chickens from predators while allowing ventilation.
Install a roof using your chosen material. A slanted roof will allow rainwater to run off and prevent pooling.
Add a door with hinges for easy access. Finally, paint or seal the wood to protect it from the elements.
Extra Tips
- Ensure the run has a proper drainage system to avoid stagnant water. Regularly check the integrity of the wire and structure to keep your chickens safe.
Nutritional Breakdown (Per Serving)
- Calories: 0 kcal